Timmy Tech - A Cleaning Guide to your Intimidator
Ok well this post will help anyone new to Intimidators and that would like to see how some the parts are put together.
Tools that your going to need:
-1/8 allen key
-3/32 allen key
-5/64 allen key
-1/16 allen key
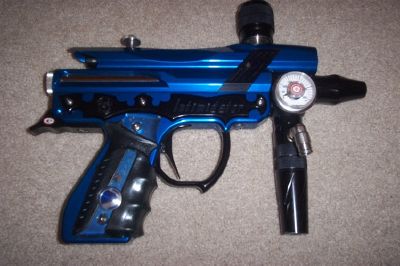
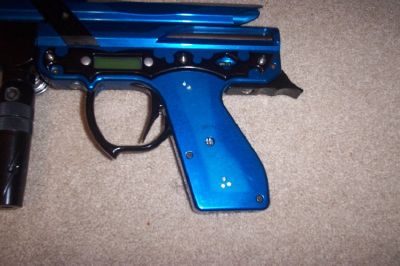
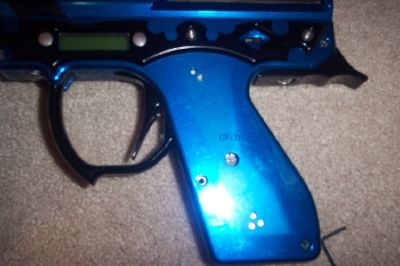
So here's my Intimidator that in going to be ripping apart...
Ok, so first ill take the bolt out, to take it out u pull the pull pin on the top and then the bolt will just slide out the back of the marker

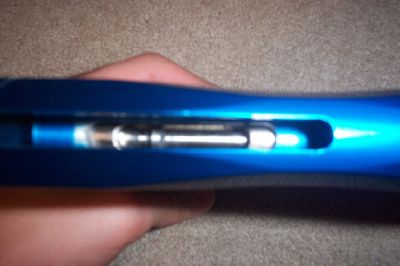
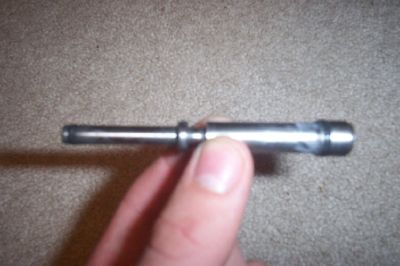
Here's a pic of my shocktech bolt with a few ware ins
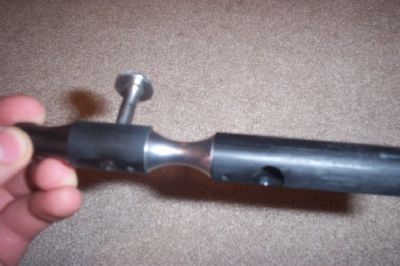
Looking down thats the ram in the body of the gun
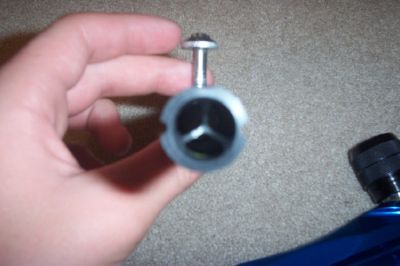
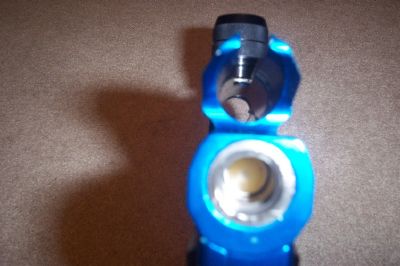
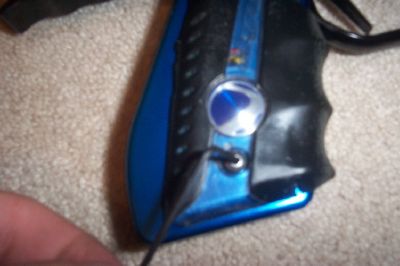
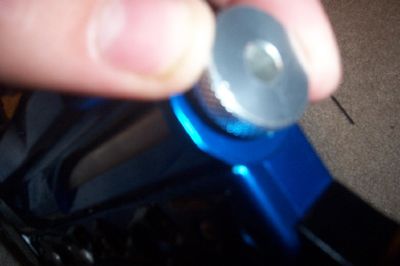
Now ill take the ram cap and ram out of the gun, first take off the rap cap, by unscrewing it
Here the ram in the gun
Now to take out the ram stick a allen key or something small and thin down the hole at the top of the gun and kind of shove the ram out till the end of it is at back of the marker and then lightly shake the the marker untill the ram slides out
Make sure u keep your marker close to the ground when you take the ram out so the ram doesnt go flighing and brake
Also make sure your ram is greased up with dow 33 or dow 55

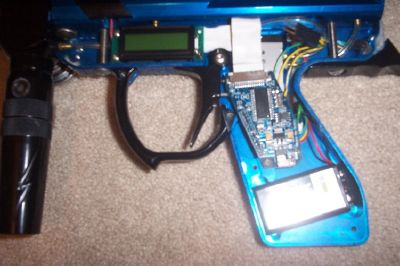
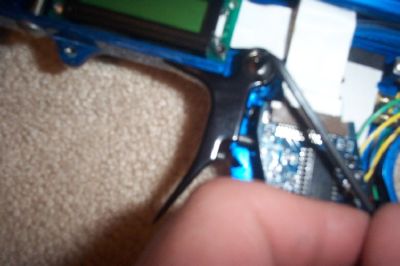
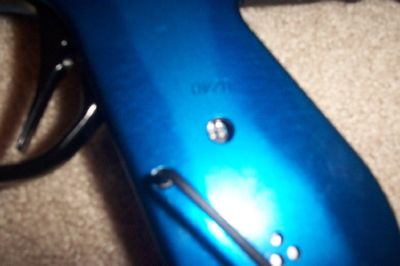
Now im gonna get into the clamshell show you the electronics and how to take out the trigger and trigger guard, so i took of my grips
And then started unscrewing all the screws that hold the clamshell together
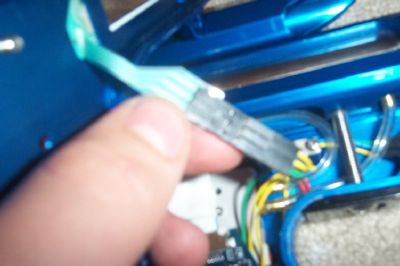
Once your removed all of the screw, very slowly take ur clamshell off to that you do not break the wire to from the membrane buttoms and the top to the board on the bottom
Pull the middle of the black wire connector that is connecting the buttom membrane to the board apart so that u can have to seperate pieces of the clamshell
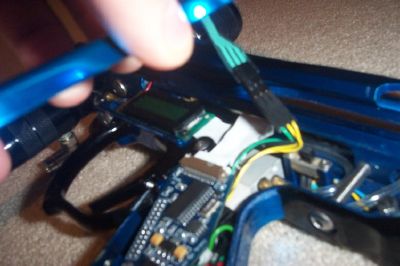
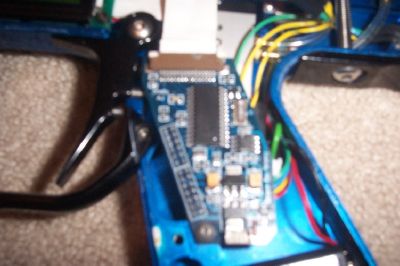
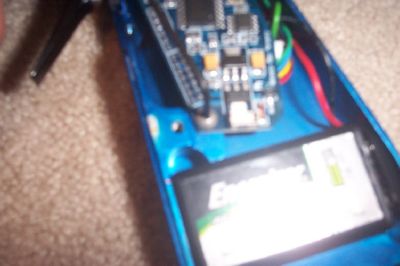
Here's a good pic to show how small timmy boards are
And another pic of the board
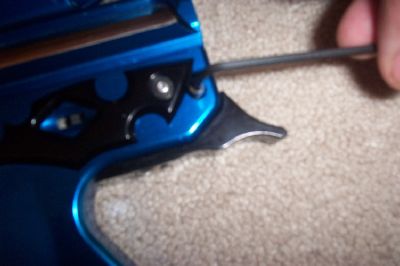
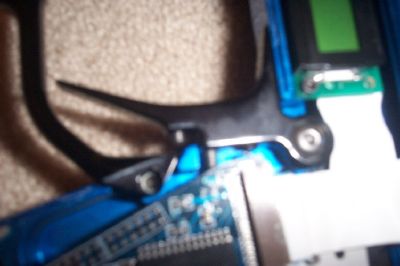
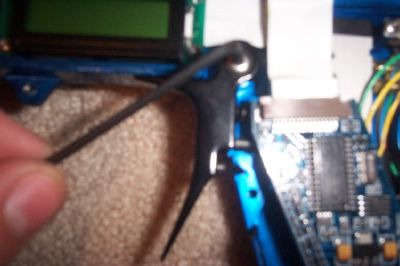
And a shot of the trigger and how it's held together
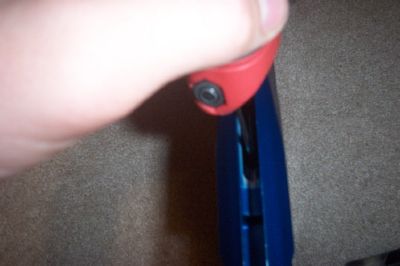
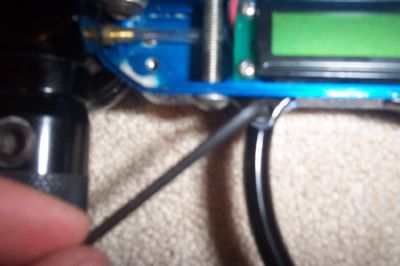
Now to take the trigger guard off, first start off by unscrewing the allen hex and the bottom of the trigger guard
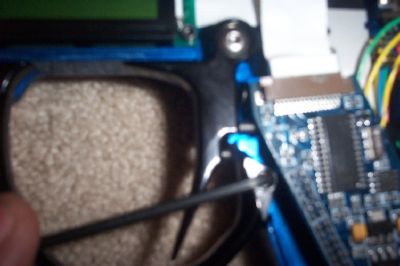
Then unscrew the allen hex at the top of the trigger guard
The trigger guard should just come off after that by pulling it up

Then unscrew the allen hex holding the board on off (will be used later to pull the trigger back in)
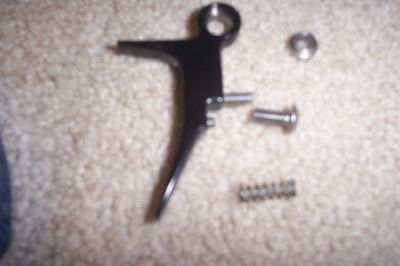
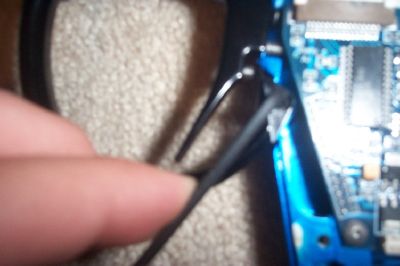
After that, unscrew the allen hex at the top of the trigger and once it is unscrewed the trigger should easily come off by a combo of pulling up and sliding it to the left
Here are the pieces that should come out, the trigger, the allen hex that help in the trigger, the nickel piece that keeps the trigger from going in sideways and the trigger spring
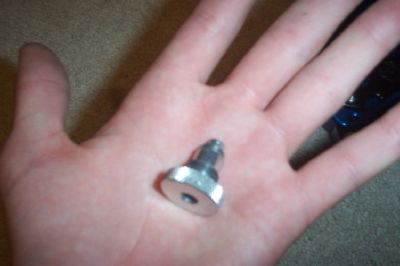
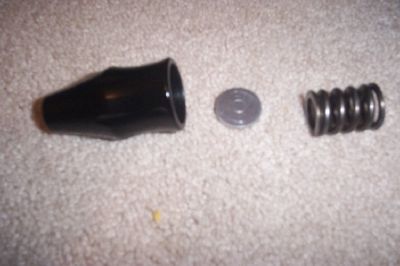
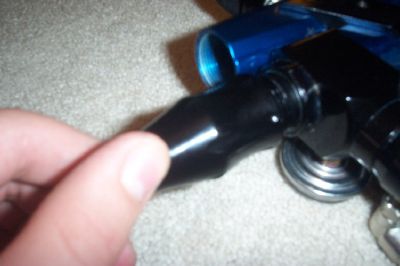
Ok, now to attacth the LPR, start by unscrewing the cap off
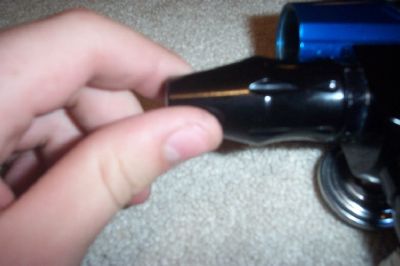
Here is what should come out (unless you have a different LPR it might look different)
Now to put it all back together
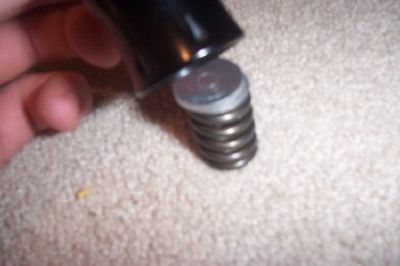
Putting the LPR back together the silver piece should go in the LPR cap first, then the spring
Then screw the cap back on together
Now, it's time to put the trigger back on, this is a little bit tricky, when you screw the trigger back on, make sure the silver piece should be under the trigger and the bottom of it should be the flat side

Now here's the reason why i told u to loosen the board before, now lift the board up gently and place the spring in the spot shown above the switch
Then wiggle the trigger into its spot, but make sure that you have the silver piece facing down, and screw the allen hex in when you are SURE that the trigger is in correctly
Now the trigger guard, screw the top of the trigger guard into place
And then the bottom of the trigger guard
And then to put the clamshell back together, first connect the wire connector and place the clamshell ontop of each other
Make sure it's on right and no wires are being pinched and then put all the screws back in
And make sure they're all tightened, but not overtightened
Next, put the grips back on, but make sure on the 2 bottom screw not to tighten them much at all, becuase the bottom of the screw will bend the battery and u dont want battery acid all over your board and electronics (or at least with my timmy)
Almost done! now time to drop the ram back in. It's probably a good idea to lube the ram if not already, but then make sure the body of the gun is COMPLETLY vertical and then drop the ram in, and make sure it is in the right way
and then screw the ram cap on all the way
Finally, put the bolt in and push the pull pin down when it is on top of the ram

Wow and there ya go! Hopefully this will help someone out.
Disclaimer: I'm not responsible if you damage your gun trying to take it apart or something :)
Shop
Forum
Videos
Games
Shop
Dye Paintball Guns
Proto Paintball Guns
Smart Parts Paintball Guns
Spyder Paintball Guns
Tippmann Paintball Guns
Paintball Tanks
Used
Used Spyder Guns
Used Tippmann Guns
Used Ion Guns
Used Dye Guns
Used Angel Guns
Used Proto Guns
Other Used Paintball Guns